
IPMI HOW TO
Appearance of the IPMI web-interface can be different.
It depends on the kind of IPMI-card.
There are several ways to gain IPMI-access to your server:
From Linux/Unix in Gnome Desktop.
Step 1:
We provided you access info like this:
- IPMI
- https://A.B.C.D/
- login/password
Open the address(https://A.B.C.D/) in your Internet Browser and use the login and password.
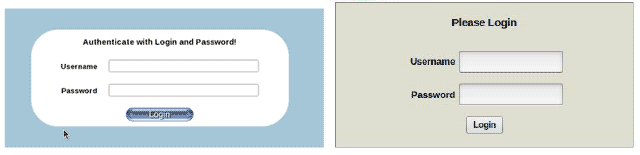
Now you are on IPMI web-interface.
Step 2:
Here you have some special options to manage your server.
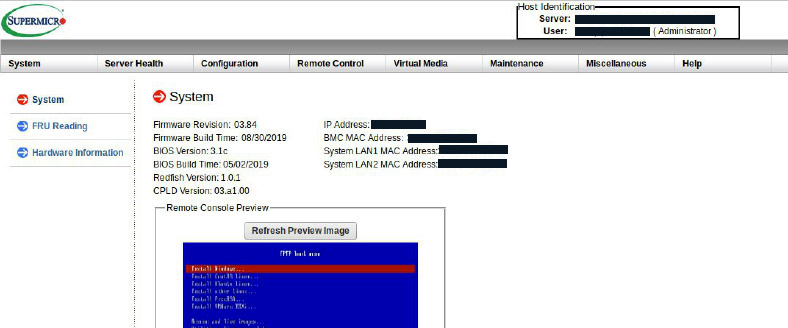
On interface with another ipmi card you see
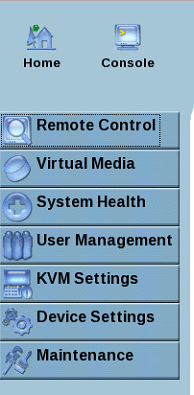
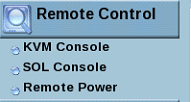
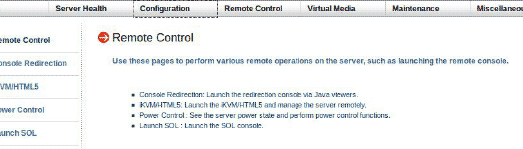
In section “Remote Control” you can:
- Launch the remote console via Java or ActiveX viewers;
- Launch the SOL console;
- See the server power state and perform power control functions.
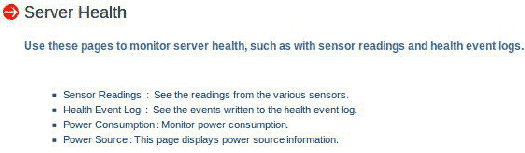
In section “Server/System Health” you can:
- See the readings from the various sensors;
- See the readings from the various sensors, with thresholds included in the table;
- See the events written to the event log.
If you want to install some OS, you can use mount option:
- Launch the remote console;
- On the top of window select Media->Virtual Media;
- Chose the required device and mount iso-image;
- Reboot a server and start installation.
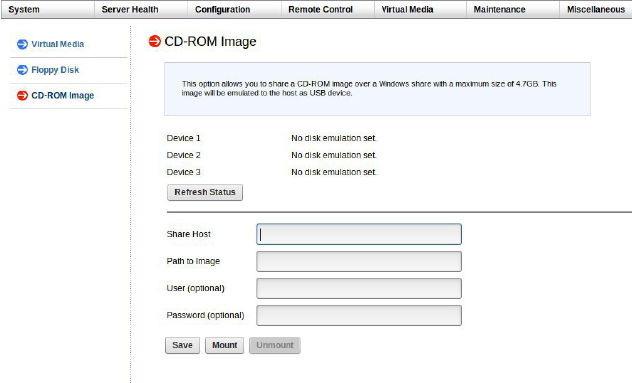
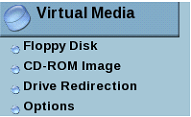
In one case (on another ipmi card) mount device option can be found on main web-interface page in section “Virtual Media”.
From Microsoft Windows with a IPMI View.
Guide to use IPMI View you can find on following address:
https://www.supermicro.com/wdl/ISO_Extracted/CDR-SIMIPMI_1.13_for_SIM_IPMI/Manuals/IPMIView20.pdf
Note: IPMI View also can be used in Linux/Unix systems, but in this case does not work function “mount iso-image”. With integrated IPMI-card you can not mount image using NetBIOS.